Photographing Aspen Groves: Settings and Composition Tips for Autumn
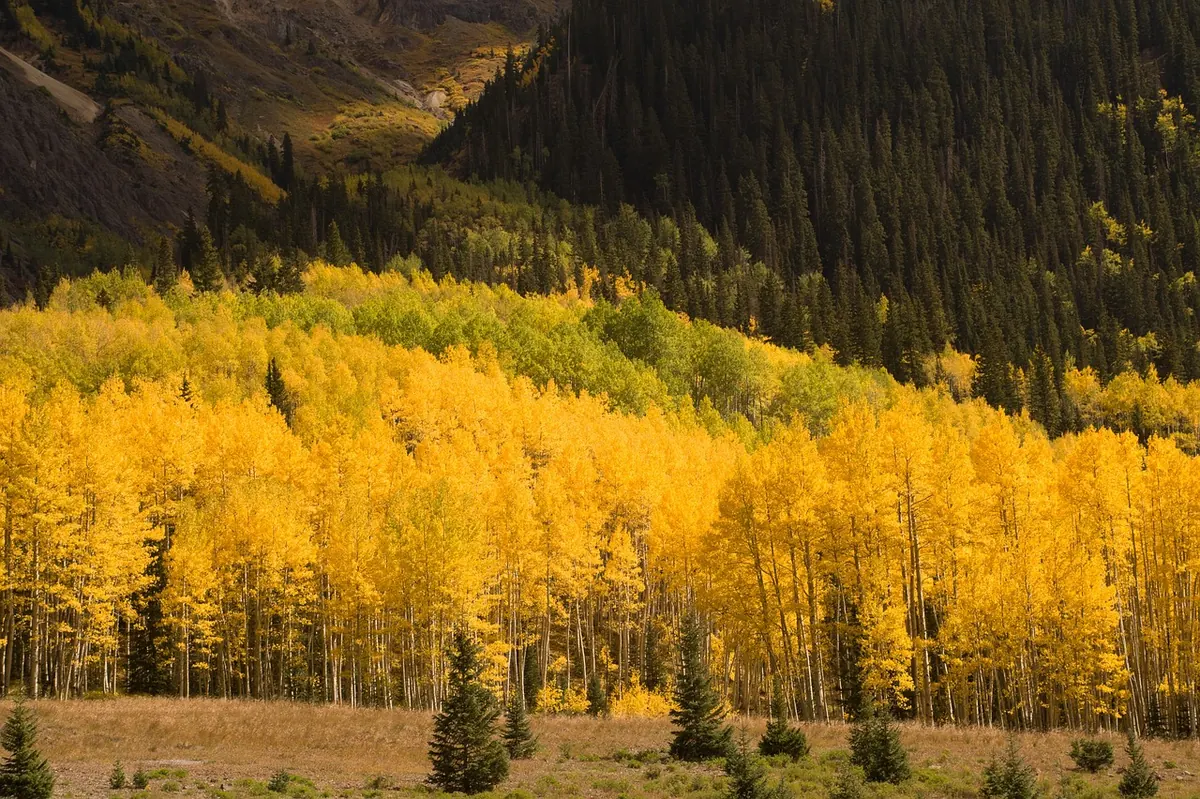
Aspen go over quickly. One week the grove is green with a hint of lime, the next it is a wall of yellow that a decent breeze will strip in a few days. That short window is why photographing aspen rewards preparation more than improvisation: sort your settings before you arrive, then spend your time on light and shape instead of menus.
Start with the light, not the lens
Aspen bark is pale, thin and covered in marks — knots, scars and dark eyes where branches have dropped. Thin leaves on long, flattened stalks mean the canopy is almost never still, so a shutter speed that suits a mountain vista may not suit a grove in even a light breeze.
Overcast days are better than their reputation suggests. Flat light suits trunk patterns, leaf detail and woodland floors, and it removes the risk of highlights clipping on the brightest foliage. What you lose is glow.
For that, work early or late and put the sun behind the leaves. Backlit aspen become translucent, holding a colour no edit can reproduce, and the same light draws long shadows across the litter. Move round the grove and shoot across the trunks to open up their texture — side light shows every ridge and scar, whereas front light flattens them into pale poles.
Settings to have ready before you leave the car
Autumn colour changes fast, so a workable starting point beats a perfect one. These are the values I would dial in first, then adjust:
- Mode: aperture priority with auto ISO set to a ceiling you can tolerate — 800 for tripod work, up to 1600 or 3200 when handheld in a shaded grove.
- Aperture: f/8 to f/11 for wide views and trunk patterns; f/4 to f/5.6 for isolating single leaves or a fallen branch. Beyond f/16 you risk softness from diffraction for little extra depth.
- Shutter speed: at least 1/focal length handheld, and 1/250 or faster if you want fluttering leaves frozen. Drop to 1/8 or slower on a tripod to turn that movement into soft streaks of yellow.
- Exposure compensation: start at minus one third to minus one stop. Yellow is bright and fools most meters into underexposing the trunks or overexposing the canopy, depending on the frame.
- Format: RAW, without question. Recovering a bright yellow leaf that has clipped to white is possible in RAW and often impossible in JPEG.
- Focus: single point, and switch to manual with focus peaking once the camera is on a tripod for close work.
Carry a tripod even if you plan to shoot handheld. It lets you stop down, use base ISO and compose slowly — and a two-second timer or remote release removes the last of the shake.
Expose for the yellow, not the frame
The yellow of a backlit aspen leaf is one of the easiest colours to ruin. On many sensors the red and green channels clip before the brightness looks wrong, so the leaf turns a flat, cream-coloured blob while the histogram still looks reasonable.
Check the brightest leaf rather than the whole picture. If highlight warnings are flashing across the canopy, pull back half a stop and try again. Slight underexposure is nearly always the safer error: grey trunks can be lifted, but blown highlights cannot be invented. Bracket at plus or minus two thirds of a stop if you are unsure — three frames take seconds and give you options at home.
Composition: patterns, layers and interruptions
Work in layers
Aspen often grows in clonal clusters, which means rows and ranks of near-identical trunks. That repetition is the photograph. Stand back and let two or three groups sit at different distances, so each becomes a pale vertical band against darker slopes or shadowed ground. A longer focal length compresses those layers and makes the grove look denser than it is; a wide angle stretches the gaps and turns trunks into converging lines.
Look up, then look down
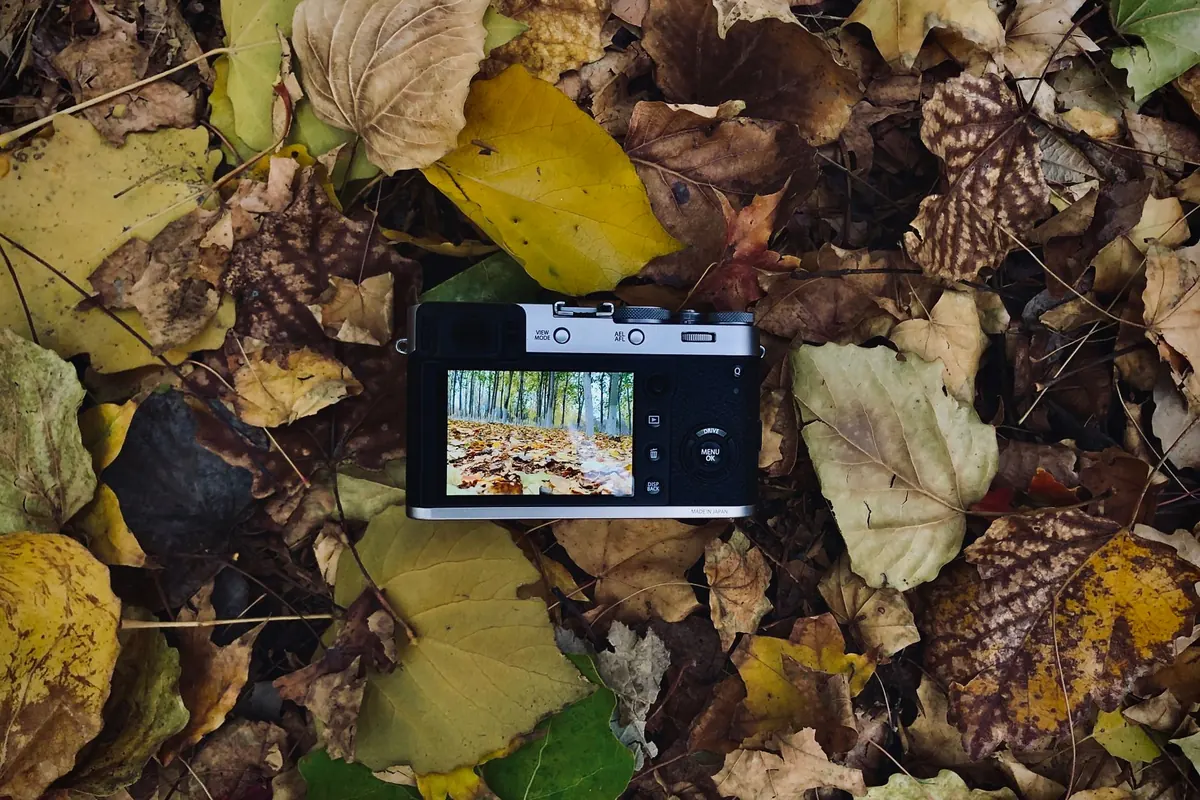
Point the camera upwards and you get a symmetrical canopy shot that reads as texture rather than place. Point it down and you find a floor of yellow litter, half-buried stones and roots. Both are worth a frame, and both suit a vertical composition. Getting low — kneeling, or resting the camera on the ground — gives the litter real weight in the picture instead of a thin strip along the bottom edge.
Break the pattern
Once you have the repeating trunks, look for the one that does not fit: a leaning tree, a fallen branch, a dark gap of shadow, a single birdless snag. Placing that interruption off-centre gives the eye somewhere to rest and stops the image reading as wallpaper. A path, a stream or the edge of the grove does the same job — lead the viewer in from a corner, then let the trunks take over.
A note on filtersA polarising filter is useful in an aspen grove. It cuts glare from wet leaves, deepens a blue sky behind the canopy and saturates the litter after rain. It costs one to two stops of light and can slightly dull the glow of backlit leaves, so check both with and without before committing.
Weather, wind and the state of the leaves
Rain makes the trunks almost black and the leaves vivid, and it keeps most people indoors. Mist is even better: it separates the layers, hides a messy background and gives trunks something to stand against. Frost on a still morning adds a bright edge to the litter and keeps the leaves crisp.
Wind is the enemy of foliage detail but not of pictures. Either raise the shutter speed and accept a few blurred leaves as part of the scene, or slow right down and let the canopy smear into bands of colour. Visit the same grove weekly through October if you can. Aspen colour moves quickly, and a week is enough to go from first gold to bare branches.
A field checklist
- Raw file format, aperture priority, auto ISO ceiling set, exposure compensation at minus two thirds.
- Tripod and a remote or two-second timer.
- Polarising filter, a lens cloth and something to kneel on.
- A wide lens for trunk patterns, a short telephoto for compressed layers, and a close-focusing lens for leaf detail.
- Two compositions planned in advance: one upward, one along the ground.
One grove, three visits
The best aspen pictures usually come from returning rather than ranging. Pick a single grove you can reach easily, photograph it in flat grey light, then again backlit at sunset, then once after rain. Same trees, same shapes, three different sets of pictures — and by the third trip you will know exactly where to stand, which settings to trust and when the light arrives.
Photo: zhang kaiyv / Pexels
Aspen Leaf Miner and Other Common Pests: A UK Troubleshooting Guide
How to read the damage on aspen leaves and bark, from serpentine leaf-miner trails to gall mites and rust,...
Designing with Aspen: Landscaping Ideas for Small and Large UK Gardens
From flutter-leafed specimen trees to coppiced multi-stem features, here's how to use native aspen in UK...
About Us